Why the Emergency Stop Command Could Save Your Dog's Life
Every dog owner has experienced that heart-stopping moment: your pup catches sight of a squirrel, another dog, or something equally enticing and bolts. In that split second, your dog could run into traffic, off a cliff, or into a dangerous situation where a standard recall might actually make things worse. Unlike a traditional recall that brings your dog toward you, an emergency stop command freezes your dog in place instantly, regardless of what's happening around them. [1]
This distinction is crucial. If your dog is sprinting toward a busy road and you call them, they might run directly into traffic while trying to reach you. But with an emergency stop, your dog stops dead in their tracks, giving you precious seconds to assess the situation and safely guide them away from danger.
The emergency stop isn't just for dramatic rescue scenarios. It's equally valuable during everyday off-leash adventures, protecting your dog from cyclists, runners, unfamiliar dogs, and unexpected hazards. [2]
Understanding the Emergency Stop vs. Other Commands
Before diving into training, it's important to understand how the emergency stop differs from commands you may have already taught.
Emergency Stop vs. Drop on Recall: While similar, these commands serve different purposes. A drop on recall typically happens during a recall sequence—your dog is already coming toward you and drops partway. An emergency stop is taught at a distance and can be executed when your dog is facing away from you, moving in any direction, or completely distracted. [1]
Emergency Stop vs. Stay: The stay command requires your dog to maintain position while you're nearby and controlling the situation. The emergency stop is distance-based and works even when your dog doesn't know you're about to give the command. Your dog should respond instantly from anywhere on your property or in a safe off-leash area. [2]
Why Use a Different Word Than "Down"? Many trainers recommend using a distinct word like "Stop," "Halt," or "Freeze" for the emergency command rather than reusing "Down." The reasoning is simple: if you use "Down" casually in everyday life and don't enforce it consistently, your dog may not take an emergency version seriously. A unique word that you always enforce with 100% consistency creates a clearer distinction in your dog's mind. [1]
What You'll Need to Get Started
Training an emergency stop doesn't require expensive equipment, but a few items make the process significantly easier:
- High-value treats: Use your dog's absolute favorite rewards—small pieces of chicken, cheese, or specialized training treats. Save these exclusively for emergency stop training.
- Long training line: A 15-30 foot rope or leash gives your dog freedom while maintaining safety during early training stages.
- Training clam or treat container: A visible, throwable container with treats inside is more visible at distance than individual treats and allows for more accurate throws. [2]
- Low-distraction environment: Start in a quiet, enclosed space away from other dogs, children, traffic, and exciting stimuli.
- Patient attitude: This command takes time. Expect training to progress over weeks and months, not days.
Step-by-Step Training Protocol
Phase 1: Building the Foundation (Low Distraction, Close Distance)
Begin in your backyard or a quiet park with minimal distractions. Your goal is to establish the connection between your hand signal and the desired behavior.
- Set up the scenario: Have an assistant hold your dog while you walk 20-30 feet away. Face your dog but avoid direct eye contact, as this may encourage them to run toward you rather than stop. [1]
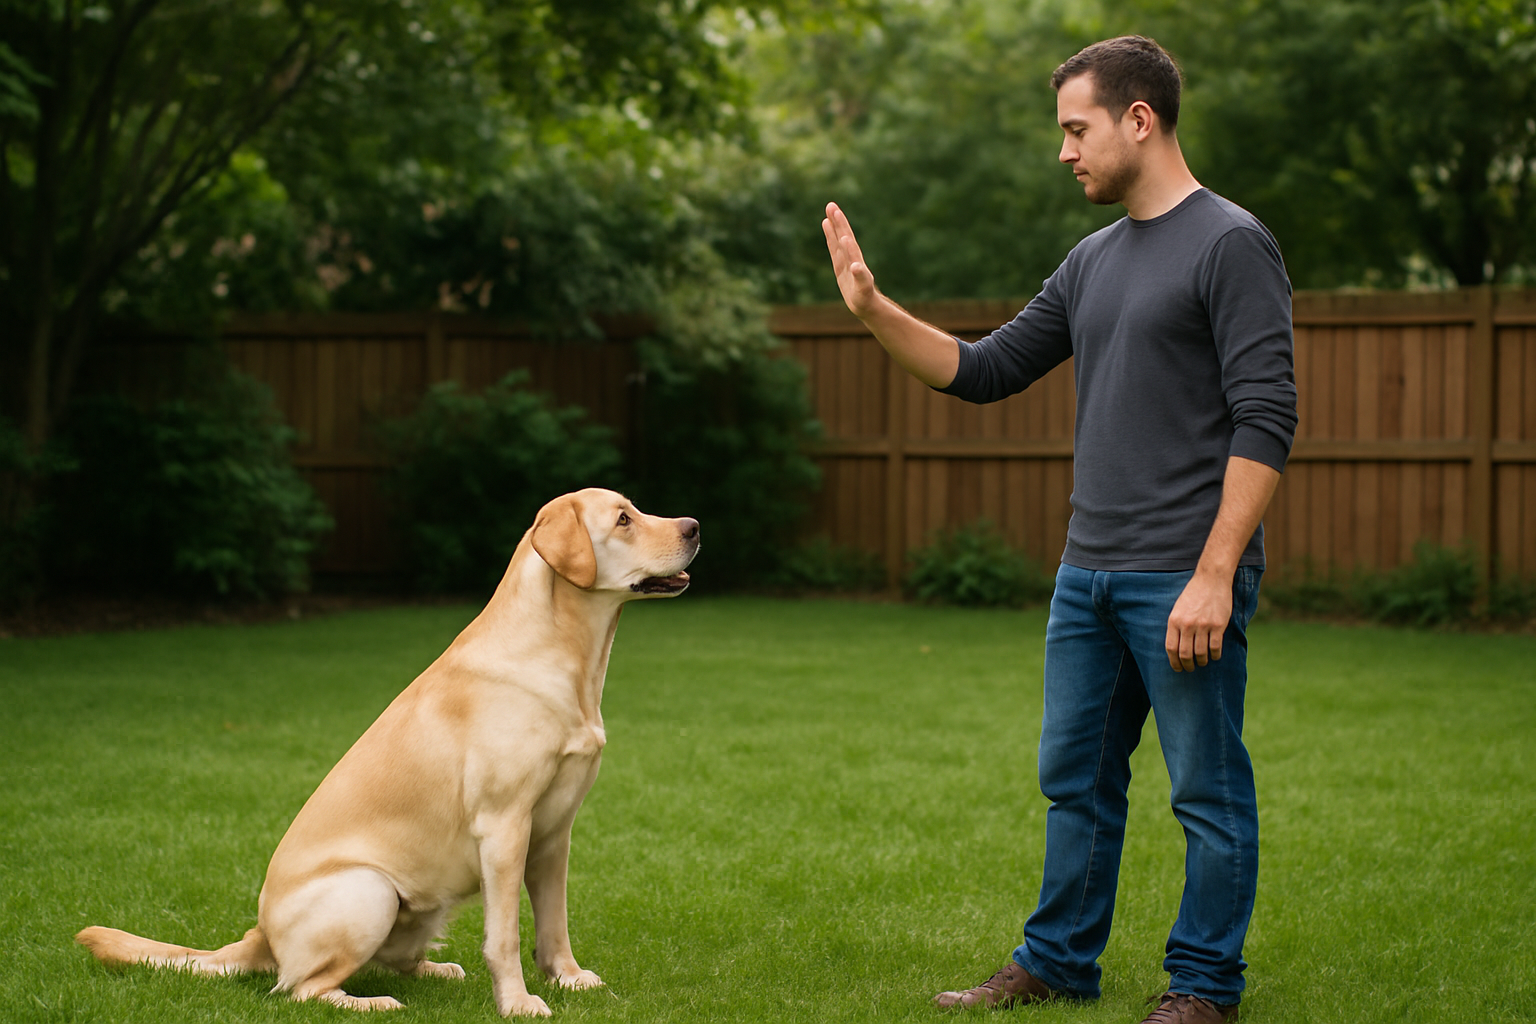
- Give the command: When your dog begins moving toward you, raise your arm sharply upward (similar to a police halt gesture) and give your verbal cue: "Stop!" or "Halt!" The motion of your arm rising will naturally cause your dog to hesitate. [2]
- Reward immediately: The instant your dog stops, toss a treat or your training clam toward them—not to you, but to the side or behind them. This reinforces the stop position and prevents your dog from creeping forward in anticipation. [2]
- Repeat consistently: Practice this sequence 5-10 times per training session, keeping sessions short (10-15 minutes) to maintain enthusiasm.
Phase 2: Introducing Distance and Diversion (Still Controlled)
Once your dog reliably stops at close range, begin increasing difficulty by adding distance and distraction.
- Extend the distance gradually: Over multiple training sessions, increase the distance from 30 feet to 50 feet, then 75 feet, and beyond. Add distance only when your dog demonstrates reliable stops at the current distance. [1]
- Add directional confusion: Pretend to throw the training clam in one direction to divert your dog's attention, then give your stop command. When your dog stops, throw the clam in the opposite direction (typically behind them). This teaches your dog to respond to your signal regardless of where they're looking or what they're focused on. [2]
- Vary your position: Practice with your dog facing you, facing away, and at angles. The stop command must work from any direction.
Phase 3: Long Line Training in Real-World Scenarios
Once your dog demonstrates solid performance in controlled settings, transition to real-world environments while maintaining safety.
- Attach the long line: Use a 15-30 foot training line appropriate for your dog's size. [5]
- Walk naturally: Take your dog for a normal walk, then randomly give the stop command. Reward heavily when your dog responds. [1]
- Introduce mild distractions: Practice in areas with slight distractions—a nearby park, a quiet street, or a field with distant activity. Gradually increase environmental complexity as your dog's reliability improves.
- Never skip the reward: Every single successful stop should result in immediate praise and a treat. This consistency is what builds reliability.
Phase 4: Off-Leash Reliability (Controlled Environments)
Only after your dog demonstrates 95%+ reliability on the long line should you remove it.
- Start in a fully enclosed space: Practice off-leash in a fenced yard or enclosed training area before attempting in open spaces.
- Keep high-value rewards available: Continue using premium treats and praise. Never transition to inconsistent rewards—this is a safety command that demands consistency.
- Gradually increase environmental complexity: Move from your yard to a quiet park, then to busier areas, always maintaining your dog's reliability before advancing.
- Return to long line if needed: If your dog fails to respond off-leash, immediately return to long-line training without frustration. This isn't a failure—it's valuable feedback that your dog needs more practice. [1]
Common Training Mistakes to Avoid
Inconsistent enforcement: If you sometimes enforce the stop command and sometimes don't, your dog learns it's optional. Treat every instance as critical—this is a life-saving command.
Using treats that aren't motivating enough: If your dog isn't enthusiastically responding, your rewards probably aren't valuable enough. Experiment with different treats to find what truly excites your dog.
Progressing too quickly: Many owners rush to off-leash training before their dog is truly ready. Spend weeks, even months, building reliability at each stage.
Punishing failures: Never scold or correct your dog for not stopping. This creates fear and confusion. Instead, reward successes generously and practice more in lower-distraction environments. [1]
Training in high-distraction environments too early: Your dog's brain capacity for learning is limited by environmental stress. Master the command in quiet settings before attempting it near exciting stimuli. [5]
Letting the dog come to you for rewards: Always go to your dog to deliver the reward. If you call them to you, they learn to anticipate movement and break the stop early. [5]
Pairing Hand Signals with Verbal Cues
The most reliable emergency stops use both a hand signal and a verbal command. Your dog may not always hear you—wind, distance, or ambient noise could interfere—but they can see your hand signal from farther away. [1]
Recommended pairing:
- Verbal cue: "Stop!" or "Halt!"
- Hand signal: Arm raised sharply upward (police halt gesture) or arm extended straight out
Practice both signals together consistently so your dog responds to either one independently. Eventually, you can fade out the verbal cue and rely solely on the hand signal in situations where sound is unreliable.
Age and Individual Differences
Any dog can learn the emergency stop, but timing and difficulty vary based on age and temperament.
Puppies (8 weeks - 6 months): Young puppies have limited impulse control and shorter attention spans. They can begin learning the command, but expect slower progress. Keep sessions very short (5 minutes) and use especially enticing rewards.
Adolescents (6-18 months): This is often the most challenging phase. Hormonal changes and increased independence mean adolescent dogs are easily distracted and may test boundaries. Consistent, patient training is essential.
Adult dogs (1-7 years): Most adults learn this command relatively quickly, especially if they already know drop on recall or have prior training experience.
Senior dogs (7+ years): Older dogs often excel at this command due to their calmer nature and established obedience patterns. Training typically progresses smoothly.
High-drive breeds: Herding and hunting dogs with strong prey drive may require more repetitions and longer training timelines, but they're often highly motivated by food rewards. [5]
Real-World Applications: When You'll Use This Command
Understanding when to deploy your emergency stop helps you practice the right scenarios:
- Approaching traffic: Your dog drifts toward a road during off-leash play
- Wildlife encounters: Your dog spots a deer, rabbit, or other animal and begins chasing
- Unfamiliar dogs: An unknown dog approaches and your dog's behavior is uncertain
- Hazardous terrain: Your dog heads toward a cliff edge, frozen pond, or unstable ground
- Cyclists and runners: Your dog fixates on a passing cyclist or runner
- Escaping situations: Your dog bolts toward an open gate or door
Maintaining Long-Term Reliability
Training doesn't end once your dog learns the command. Maintenance is critical for a skill this important.
- Practice regularly: Include emergency stop practice in your weekly routine, even after mastery. Aim for at least 2-3 sessions per week.
- Vary training environments: Practice in different locations, seasons, and times of day to ensure reliability across contexts.
- Surprise practice: Occasionally give the command during normal off-leash play rather than during scheduled training sessions. This keeps your dog sharp and responsive.
- Continue rewarding: Never stop rewarding successful stops. Even after years of training, maintain high-value treats and enthusiastic praise.
- Refresh after breaks: If you haven't practiced for several months, return to earlier training phases to rebuild reliability.
Final Thoughts: An Investment in Safety
Teaching your dog the emergency stop command requires patience, consistency, and time—but it's one of the most valuable investments you can make in your dog's safety. Unlike many commands that are nice-to-have, the emergency stop could literally save your dog's life in a critical moment.
Approach this training with the mindset that it's a life-saving skill deserving your full attention and commitment. Celebrate small progress, remain patient through plateaus, and never rush the process. Your future self will be grateful when your dog instantly freezes at the edge of danger, giving you those precious seconds to respond.
Start today in a quiet space with your dog's favorite treats. You're not just teaching a command—you're building a safety net around your beloved companion.